In the Member Profile
Reservation History
When the Resource Scheduler module is enabled, a new link appears in the section Histories in the Member Profile.
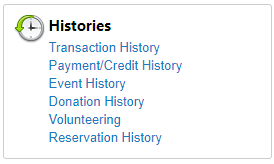
Clicking this link displays a screen similar to the following:

Use this screen to view your resource reservation history.
Select a time period from the drop-down menu to filter your results by either the previous 12 or 24 months, or view all reservations.
Each reservation will be grouped together (including all items in the reservation). Each reservation will include the:
- Reservation number - each reservation will have an assigned reference number, and individual items will be listed underneath the main reservation
- Title - the title entered at the time of making the reservation, as well as the name of each item in the reservation and the time for which is has been reserved
- Status - the status of the reservation (either Approved, Waiting for Approval or Canceled if the administrator has not approved the reservation)
- Amount - the cost of each item in the reservation. Note if a reservation has been canceled the column will be blank.
Further options are available in the Maintain Column:
Select the Edit icon to edit the reservation. The Edit icon will only appear for future reservations.
Select the Delete (trashcan) icon to delete the item from the reservation. You will be prompted to confirm this action.
Editing a Reservation
Note: Reservations with a fee cannot be edited, even if the fee has not been paid.
When you select the Edit icon for a future reservation, you will navigate to the Reservation Edit screen:
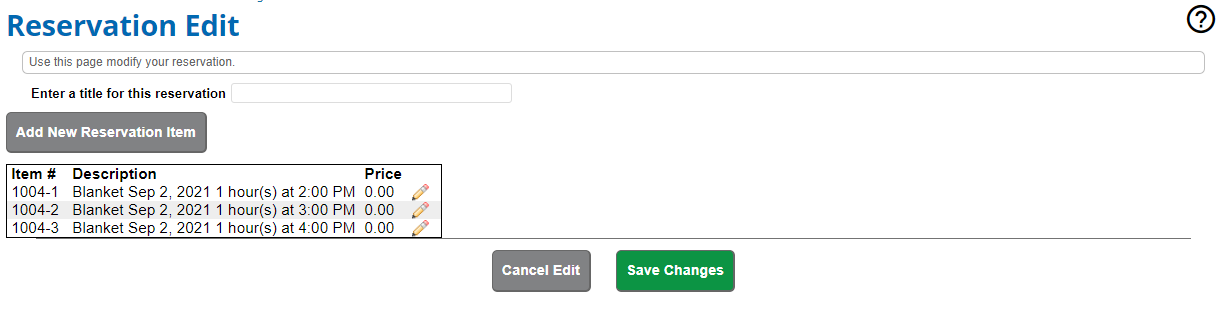
In the title field, enter a new title or the reservation, or change an existing title.
Each item displayed will include the item number, description of the item (including the date and time of the reservation) and the price per item.
Select the Edit icon next to an item to edit the reservation details for that item.
Selecting the Edit icon takes you to the Scheduling Calendar for that item. From this screen, you will see the reserved time slot highlighted. If the same item has been reserved for additional time slots, only the time slot you chose on the Reservation Edit screen will be available to edit; remaining time slots will be marked Reserved. To edit those time slots, return to the Reservation Edit screen and select the Edit icon in-line with the item.
Select the slot the item is reserved for to open the Reservation pop-up window. From this window, you can edit the reservation time, Setup Fee, Usage Description and Special Instructions. Make your changes, then select Save and Checkout to apply the changes to the item and return to the Reservation Edit screen. This will not save the changes to the reservation, you'll do that on the Reservation Edit screen.