Part 1. Adding an Event
Navigating to the Events Module
Step 1. Log in to your website using your username and password.

Step 2. Look for the Control Panel link at the top right or left-hand corner. The Control Panel is the “back office” of your organization and website.
Select the Control Panel link.
Step 3. The Control Panel has six (6) tabs.
- People Tab – Member and non-member databases, settings, and reports.
- Website Tab – Options to customize the home page, custom pages and look and feel of your website.
- Money Tab – Financial settings, data, and reports.
- Club Tab – Configure basic club information and club officers.
- Communications Tab – Communication features and settings.
- Support Tab – Access to our Online Help System, video tutorials, manuals, and the Administrator Forum.
Select the Website Tab.

Step 4. The Website tab has three (3) panels.
- Admin Functions – The day-to-day functions of your organization, including databases and reports.
- Website Modules – Listing the enabled modules for that category.
- Setup – Setup options for the look and feel of your website, menus, common content and more.
In the second section, “Website Modules”, select Events.

The Events Manager screen is where you will add events to your organization calendar.
At the top of the Events Manager screen is a Search Panel. To the right of the Search Panel are options to configure and manage the Events module.
Each event you create will appear in a grid with options in the Maintain column. View a description of each icon in the Maintain column by hovering over the legend icon in the header of the Maintain column.

Configure Event Categories
Adding categories can help you organize all the events you create and help members search for events. For example, you might create one category for educational events, and another for social events. Select Configure to view a drop-down menu of options. Select Event Categories to go to the Events Category Administration screen.

Step 5.The Events Category Administration screen is where you will add and manage your event categories. The screen contains a grid listing any categories you create, the color used to show the event on the calendar, and the option to edit the category, or delete the category if it is not being used to define any events.
Select Add Event Category to add a category.

Step 6. Add a Category
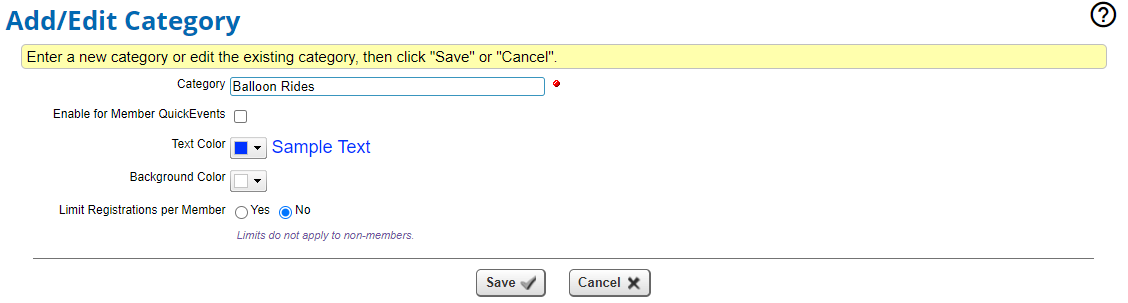
- Category - Enter a name in the Category Name field.
- Enable for Member QuickEvents - Select this option to allow members to create QuickEvents using this category.
QuickEvents
QuickEvents are easier to define than a single or multiple-activity event. They contain only one screen of information, similar to a Google Calendar event. These events are easier to register for, and you can even offer an RSVP option to members for even simpler registration. There are some limitations, for example a QuickEvent cannot have a fee associated with registration.
You can allow members to create QuickEvents in Configure > Event Defaults, with or without administrator approval.
- (Optional) Select Text Color to choose a color for the text of the event name on the calendar in grid view (or for the date of the event in list view).
- (Optional) Select Background Color to choose a color for the background of the event name on the calendar in grid view (or for the date of the event in list view).
- Limit Registrations per Member - Select Yes to limit the number of events a member can register for in this category. When you select Yes, two additional fields will appear. Select the date range to apply the limit to, and the maximum number of registrations per member.
- Select Save to save your changes and return to the Events Category Administration screen, then select Return to Previous Page to return to the Events Manager screen.
Configure Event Questions
Questions can be created and presented to members and non-members when registering for an event. The questions can be asked once per registrant, or once per registration (which can include multiple registrants). The questions must be created in Event Questions in order to be selected when creating an event.
Note: If registrants will not be given questions, skip ahead to Part 2.
Step 5. Select Configure to view a drop-down menu of options. Select Event Questions to go to the Event Questions screen.

Step 6. Select Add Question to add a question.
The Add/Edit Question screen is where you will create questions to ask of your members, or notes administrators enter for members.
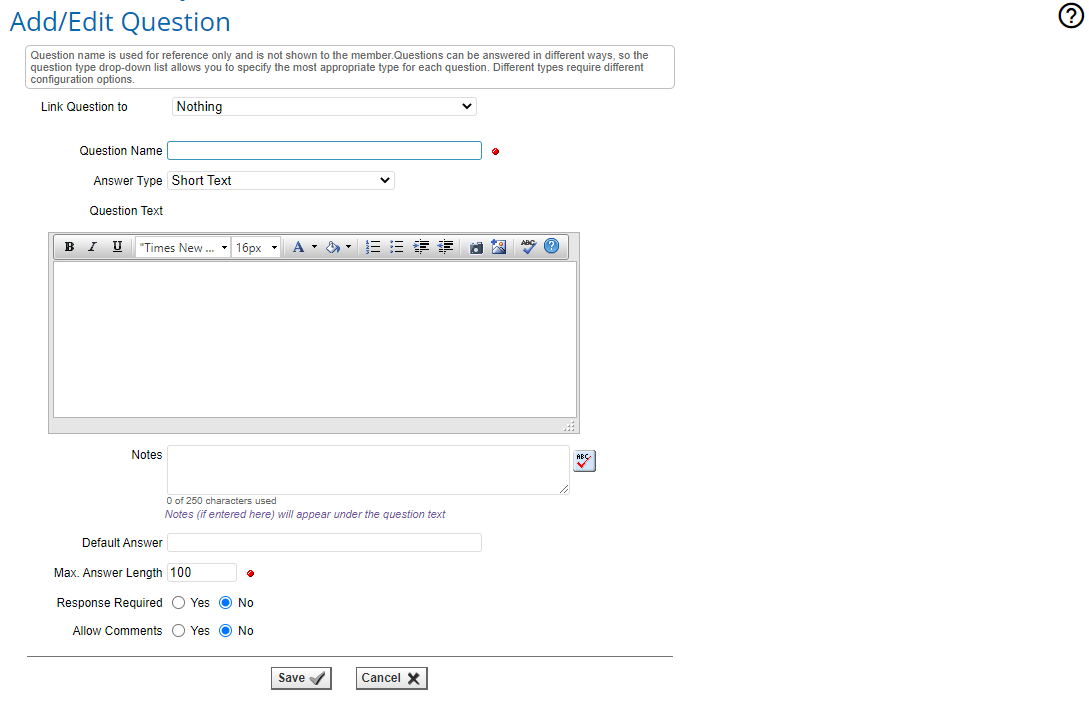
Step 7. Creating a question
- Link Question to - Select an existing additional member data question or contact information question to link to the event question.
Linking Event Questions
If you link an existing question to an event question, when the member registers for the event their previous answers will auto-fill to save the member time during registration.
- Question Name – This is the administrative name of the question that is displayed in the drop-down list of questions when creating an event. It is not displayed for the member. Enter the name of the question.
- Answer Type – There are several answer types available to gather data from your members. Select the appropriate answer type. For a full description of each option, see the list of answer types.

- Question Text – This is the question or prompt text which will appear for members. Enter the appropriate text.
- Notes – This text, if filled, will display under the Question Text. Enter any additional notes your members may need to answer the question.

Note: One or more additional fields may appear depending on your Answer Type selection. For example, a Number answer requires you to choose a minimum and maximum value. A Checkbox List requires you to list the items which will be presented to the user. For a full description of the Answer Types, additional fields and a detailed example, see the Answer Types section at the end of this guide.
Step 8. Select Save to save the question. You will be returned to the Event Questions screen.
Adding an Event
Step 9. Add an Event
Select Add to view a drop-down menu of options. Select Event to add an event and navigate to the Event Creation Wizard.
