Collectibles
- Add a collectible from the member profile
- Search collectibles
Administrators: You are viewing User instructions for this module. For Administrator instructions, see Collectibles .
Add a Collectible
When the Collectibles and Member Directory modules are both enabled, a new link appears at the end of the member Bio page.
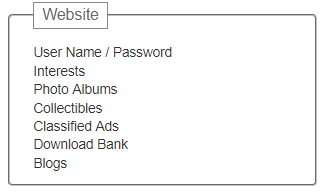
Clicking this link displays a screen similar to the following:

This is a similar screen to the main user side of the module, without the Search panel.
Filter the list by Status. The following status values are available:
- Draft is an item in process; it’s not yet ready to be shown to others.
- Active is a complete item that will be shown to others in the main Collectibles list.
- Rejected is available to admins only if an item is not suitable or needs corrections. The member will need to edit it and contact the admin to make it active again. Members cannot change the status of a rejected item but they can change everything else.
- Archived is for an item that you no longer wish to show, perhaps because it’s been sold or otherwise removed from your collection.
Click the Search button to display matching results. Each item is shown with its reference number (which can be relabeled), it’s formal “name”, when it was acquired, and its status.
Click the Display Sequence button to control the order in which items are displayed.
Click the Add <Item> button to add a collectible item. The "item will be unique to your club.
The status colors are as follows:
- Green = Active = green
- Yellow = Draft or Archived
- Red = Rejected
Click the Edit Information link to edit standard properties for the item.
Click the Copy link to make a complete copy of the item. You might use this option if you own multiple items that are similar, or an item has been restored (such as a vintage car) and you want to list properties both before and after the restoration.
Click the Delete link to delete an item, including all of its properties. You will be prompted to confirm this action.
- Specify the item name.
- Specify the item ID (such as a VIN for a vehicle).
- Specify either the full date or just the year the item was purchased and/or sold.
- Click the Save button to save your changes or the Cancel button to exit without saving.
Select One Photo, and click the Upload Photo button to upload a photo. Click the Remove link to remove a photo. Note that if you disconnect a photo from your item, the photo still remains in your collection of photos. Select Use Photo Album and select a photo album from your member profile. Click the Save button to save your changes or the Cancel button to exit without saving.
Search Collectibles
When you first display the user side of the Collectibles module, you will see the following screen.

Every collectible item has a link to the owner's Member Directory page, as well as “Item Name” (called Car Model Name in the above screen shot.) For most of these fields, you can search for a value anywhere in the field.
Collectible items also have questions where the answers are visible to the public and can be searched. There may also be questions that are configured to be visible to everyone, but cannot be searched.
Enter or select the relevant search criteria and click the Search button.
Select a question from the drop-down list. What you see next depends on the answer format.
- For a Select List or Radio Button question, the Operator is “Equals” and the Value field shows you the allowable values.
- If it’s an Integer, Number, or Date field, the Operator supports “Equals”, “Not Equal to”, “Greater Than”, “Less Than”, etc.
- If it’s a Short or Long Text field, the Operator supports “Equals”, “Not Equal to”, “Contains”, and “In List” (which is a comma-separated list.)
For each question, specify the operator and value. You can select multiple questions and, along with the fixed search fields, all specified criteria are treated as AND conditions (i.e., they must all match for a collectible item to be returned.)
When you’ve specified the criteria you want, click the Search button to see a screen similar to the following:
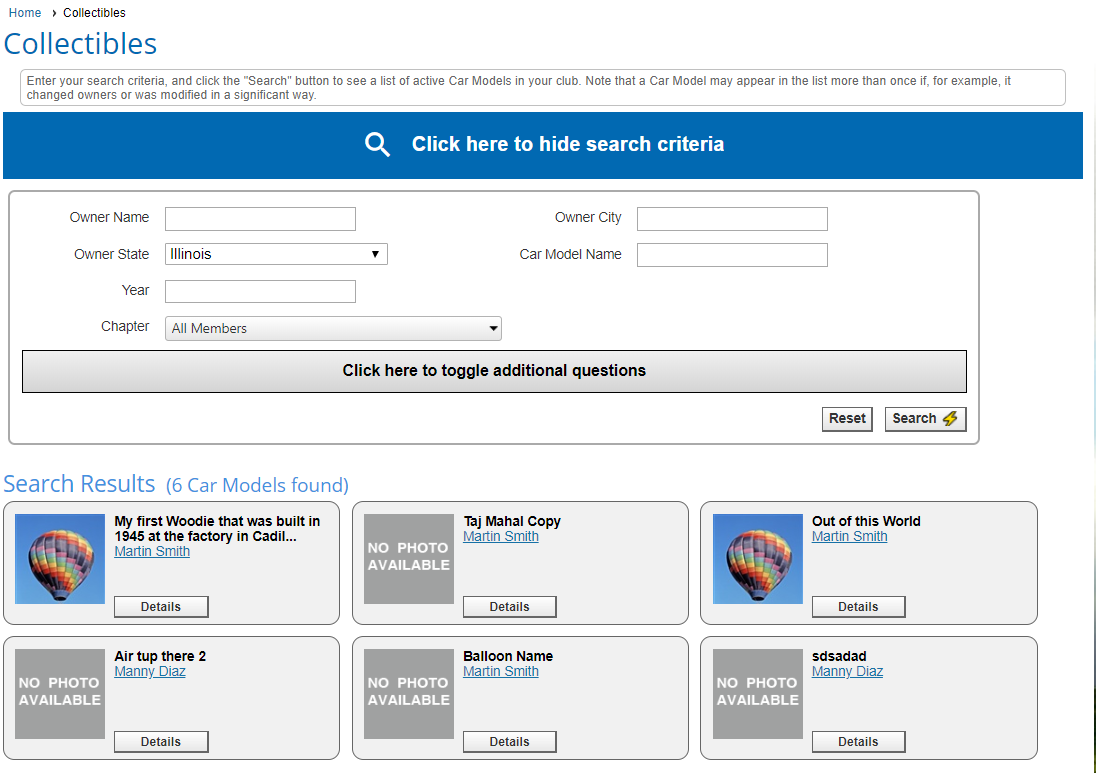
Matching items are shown below the search panel (which actually collapses when a search is performed.) 20 results are shown; if there are more than 20, the standard ClubExpress page controls will also be displayed to navigate forward and backward through the list.
Because the properties of each item will be different from club to club, only the fixed fields are shown, in addition to a photo. Click the photo to display a popup window with either the single photo linked to an item or the full photo album (using the standard ClubExpress viewer.)
Click the Details button to view the details for a single item. You will see a screen similar to the following:
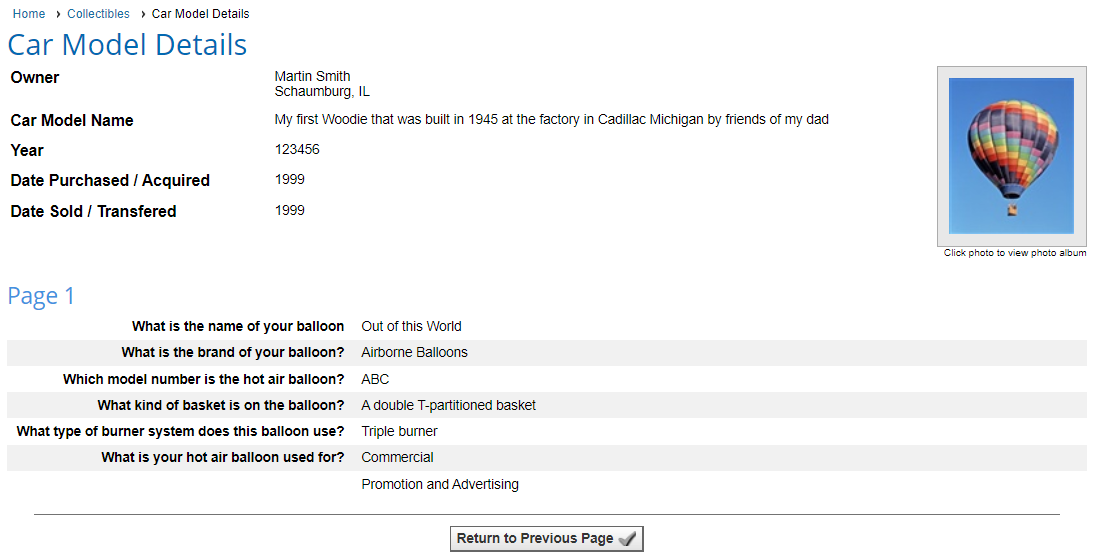
Items can be organized into pages, with any number of pages and questions per page. The fixed properties and photo are shown at the top, then each page and its questions and answers in turn.
Click Return to Previous Page to return to the search and results screen.